The New Roof Installation Process in East Texas: Step by Step
A new roof is one of the biggest investments you'll make in your East Texas home — typically $8,000 to $25,000 or more depending on size, materials, and complexity. Yet most homeowners have no idea what actually happens during the installation process. Understanding each step helps you set realistic expectations, identify quality workmanship, and ensure your roofing contractor is doing the job right. Here's the complete step-by-step process for a new roof installation in Tyler, TX and East Texas.
Step 1: Pre-Installation Inspection and Planning
Before any materials arrive, your roofing contractor should conduct a thorough inspection of the existing roof structure. This includes checking decking condition from the attic, measuring the roof for accurate material ordering, identifying ventilation needs, and noting any structural issues that need addressing. At Yosemite Roofing, we use thermal drone imaging to identify hidden moisture damage and insulation problems before the first shingle is removed.
Step 2: Material Delivery
Roofing materials are delivered 1-2 days before installation. Expect pallets of shingles, rolls of underlayment, ice and water shield, drip edge, ridge vent, flashing materials, and fasteners. A standard Tyler, TX home requires 25-40 squares of shingles (each square covers 100 square feet). Materials are typically staged in the driveway — your contractor should place plywood protection to prevent driveway damage from heavy pallets.
Step 3: Tear-Off
The crew removes existing shingles, underlayment, and damaged flashing down to the roof decking. This is the loudest and messiest part of the process — plan to keep vehicles away from the house and secure outdoor furniture. A good crew contains debris with tarps around the perimeter and uses magnetic sweepers to collect nails from your yard. Full tear-off is always preferable to layering new shingles over old — it allows inspection of the decking and proper installation of underlayment.
Step 4: Decking Inspection and Repair
With the old roof removed, the crew inspects every sheet of decking plywood. Soft spots, water damage, rot, and delamination are common in East Texas due to our high humidity. Damaged decking is replaced with matching thickness plywood or OSB. This step is critical — new shingles installed over compromised decking will fail prematurely. Expect 1-5 sheets of decking replacement on most Tyler, TX re-roofs; severely damaged roofs may need significantly more.
Step 5: Underlayment and Ice Shield
Synthetic underlayment is rolled across the entire deck surface, providing a secondary waterproofing layer. Ice and water shield (a self-adhering membrane) is installed in critical areas: valleys, eaves, around penetrations, and along rake edges. In East Texas, where wind-driven rain is common, proper underlayment installation is arguably more important than the shingles themselves — it's your last line of defense against water intrusion.
Step 6: Drip Edge, Flashing, and Ventilation
Metal drip edge is installed along all eaves and rakes to direct water into gutters. Step flashing and counter-flashing are installed where the roof meets walls, chimneys, and dormers. Ridge vent or other ventilation systems are installed to maintain proper attic airflow — East Texas homes need approximately 1 square foot of ventilation per 150 square feet of attic space for optimal moisture and heat management.
Step 7: Shingle Installation
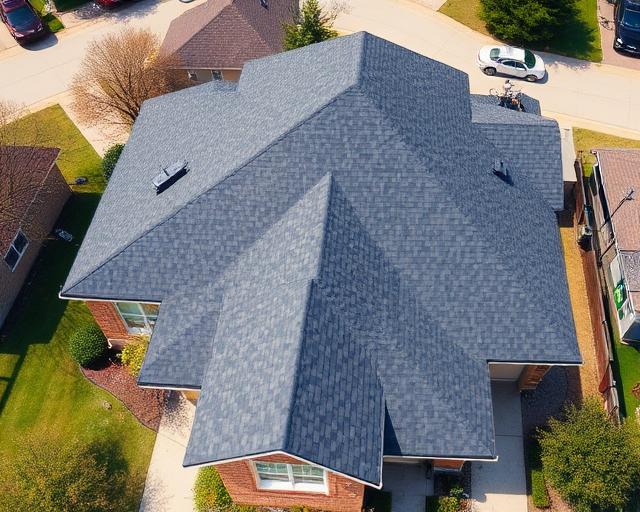
Starting from the bottom edge, shingles are installed in overlapping courses with precise exposure and offset patterns. Each shingle receives 4-6 nails placed in the manufacturer-specified nailing zone — improper nail placement is the single most common installation defect and can void your warranty. Hip and ridge caps are installed last, providing the finished look and critical sealing at the roof's highest points.
Step 8: Cleanup and Final Inspection
The crew performs a complete cleanup including debris removal, magnetic nail sweeps (at least three passes), gutter clearing, and landscaping restoration. A quality contractor then performs a final walkthrough with you, pointing out completed work and answering questions. Yosemite Roofing provides a final inspection report with photos documenting the completed installation for your records and warranty file.
Ready for a new roof on your East Texas home? Call Yosemite Roofing at (903) 326-7255 for a free inspection and detailed installation estimate.
Now that you know what to look for, find out what your roof actually needs.
Start with a free roof inspection to discuss the condition of your roof and the next steps that fit your home.